CLICK HERE FOR FREE BLOG LAYOUTS, LINK BUTTONS AND MORE! »

Monday, April 4, 2011

Stuffed Shells

I love making this and my husband loves them too.  It's perfect because it will feed us for 2 nights and then I have some leftover to freeze.  Here's how I make mine:

1 box of pasta shells  (I only use 20 for this recipe)
1 20oz pkg 99% ground turkey
1 15oz container of ricotta cheese (I use part skim)
1 12oz of shredded mozzarella ( I use reduced fat)
1/2 c grated Parmesan plus more to sprinkle on top
1 26oz jar of pasta sauce
garlic powder
Italian seasoning (McCormick Perfect Pinch)
salt
pepper

Cook the large pasta shells per the instructions on the package.  In a non stick pan, crumble and brown ground turkey.  Sprinkle salt, pepper, garlic powder and Italian seasoning to taste.  Set aside to cool.  In a large bowl, combine ricotta, 1/2 of the mozzarella, Parmesan cheese and a little more salt, pepper, Italian seasoning and garlic powder. Mix the cooked ground turkey into the cheese mixture.  Fill the shells with the mixture.  Pour 1/2 of the jar of pasta sauce into a baking pan or Pyrex (my pan is a Lecreuset and is an odd shape 8 1/2 x12).  Arrange the shells in the pan so they are in rows touching.  Pour the remainder of the pasta sauce over the shells.  Top with the rest of the shredded mozzarella and sprinkle with a little more Parmesan cheese.  Bake in a 350 degree oven for 30 minutes or until cheese is melted and bubbly.  Serve with garlic bread or a salad.  Enjoy!

In the pan before the sauce goes on:


After shells are topped with sauce and cheese:


After baking in the oven:
No pictures yet because I will be baking them for dinner tonight.  I will post a picture after they are done!  OOPS!  I forgot to set the timer and the shells were in a little too long.  The cheese on top was just past the golden brown stage.  They still tasted yummy but I'm not going to post a picture.  Just imagine them hot and bubbly and gooey!

Note:  You can freeze them.  If you don't want the ground turkey, then you can omit it or sub it with ground beef.  You can sneek veggies into the mixture, like wilted spinach. 

Lindsay


Saturday, April 2, 2011

Back Entryway Redo!

I can't stand clutter!  I also don't like shoes being worn in the house (so dirty).  At our home, we usually use the back entryway and immediately kick off our shoes and then head up a few stairs into the kitchen.  We live in a 1920's octagonal bungalow if that helps anyone.  Usually the back door looks like this:

You get the point.  It's a mess of shoes piled on top of each other and coats hung on the railing.  I don't like it one bit.  So I finally decided to do something about it.  I needed a shelf for the shoes and I wanted something with hooks on which to hang the coats.  I saw that Target had the closetmaid shelves on sale, $11.99 for the 31 inch white shoe shelf.  Perfect!  I ran out and bought it and promptly put it together.


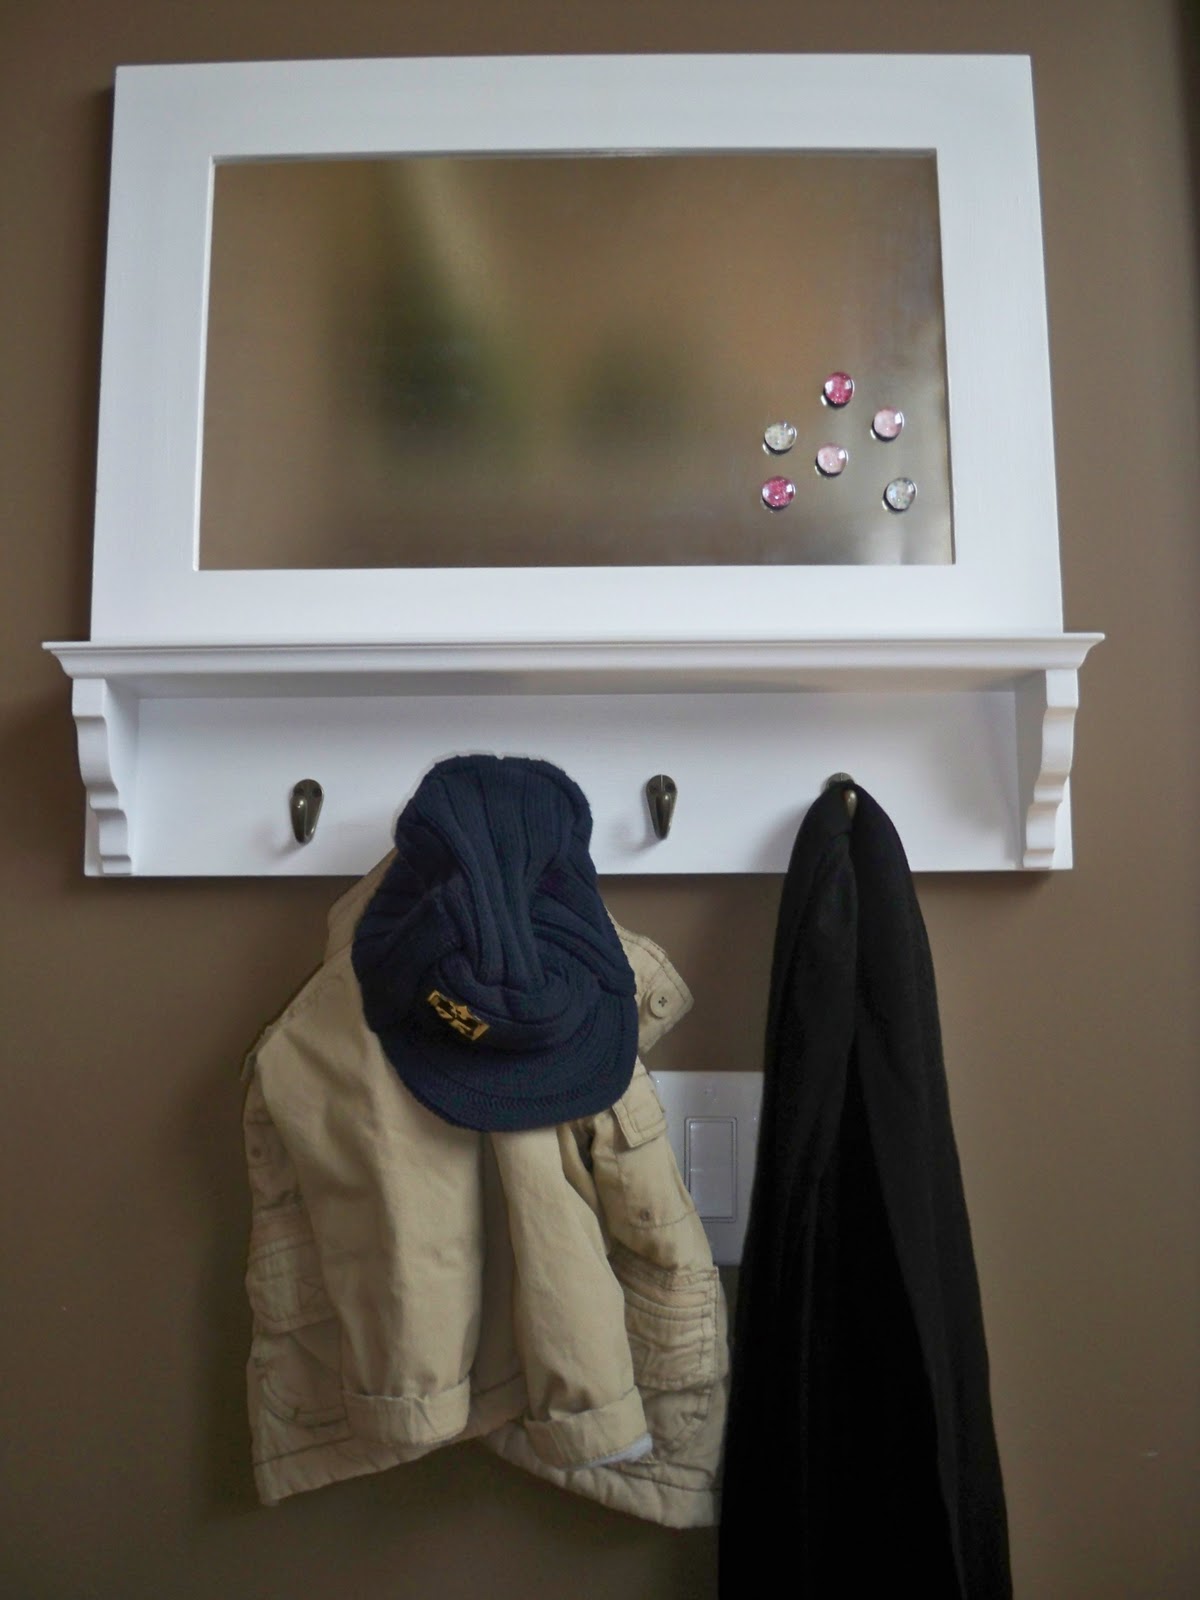
Then, I remembered that I had an old entryway mirror with hooks.  I dug it out, took the mirror out and removed the hooks, lightly sanded it and painted 3 coats of white paint that was left over from the trim.  It cost me NOTHING!  Here are pictures of the process.


My husband was so kind to help me with the next part.  He had to drill new holes in the frame because the existing holes were so crooked.  Also, my dad helped me by procuring a piece of steel from work to put in place of the mirror.  The piece hangs at a strange place.  It's at the top of the basement staircase but at the bottom of the kitchen staircase.  One would never stand there and look at themselves in the mirror.  I figured if it was metal, I could use some of my cute marble magnets and put love notes on it like "Troy, take out the trash!".  Here is the finished product and I think it turned out great.  In total it cost me $11.99 for the shoe shelf and $8.00 for the Hercules Hooks to hang it up.  I hope you guys like it too!


It looks so much cleaner and your not tripping over shoes.  Thanks again Troy and Dad for helping me with this one.  And to those of you who think that you couldn't do it, yes you can.  I am not handy and I hate getting dirty, but I did it.  It was my first step into refinishing a piece of furniture if you will.  Hopefully there will be more to follow.

Lindsay 


Thursday, March 31, 2011

Terrible Twos...already!?!

The past week has tested my parenting skills and patients unlike any other time in my life.  We have officially entered the terrible twos and all of the tantrums and melt downs that go along with it.  Liam has begun to assert his independence by throwing himself on the floor, screaming until he becomes a sweaty mess.  He does this if he doesn't want to come inside, if he doesn't want to go outside, if he wants a snack, if it's the wrong snack or if I put the wrong socks on him that do not have dinedines (dinosaurs) on them.  I realize that this "phase" will probably last until he's about 18, although I'm sure he won't throw himself on the floor if I don't give him the car keys, but WOW!  It's like he has the strength of 20 men and I can't even pick him up. 

Now I don't want you to think that my child is bad because he's not.  99% of the time, he's and angel.  He loves to read, do crafts, kick balls, color and run around.  He's usually in a good mood, even when he wakes up in the morning.  If you saw him laugh or smile, you'd never believe that he was capable of these types of melt downs.  So what I do is walk away ad let him calm down.  I almost ignore the tantrum and let him compose himself.  This seems to work pretty well, even though it can take up to a 30 minutes for him to calm down.

So do any of you have advise or tips for the terrible twos?  What do you do when you little one has a tantrum?  What I do, have a glass of wine after Liam goes to bed.  Cheers!

Lindsay

Wednesday, March 30, 2011

Wordless Wednesday


Have a great day!
Lindsay

Tuesday, March 29, 2011

Prickly Cactus

A fun little project for your munchkin.  You will need:  rice, green food coloring, zip top bag, scissors, construction paper or cardboard and glue. 

Draw and cut out a cactus shape from the constriction paper or cardboard.

Put some rice in a zip top baggie with a few drops of green food coloring and let your little one shake, shake, shake. 

Next, spread some glue on the cactus cut out. 

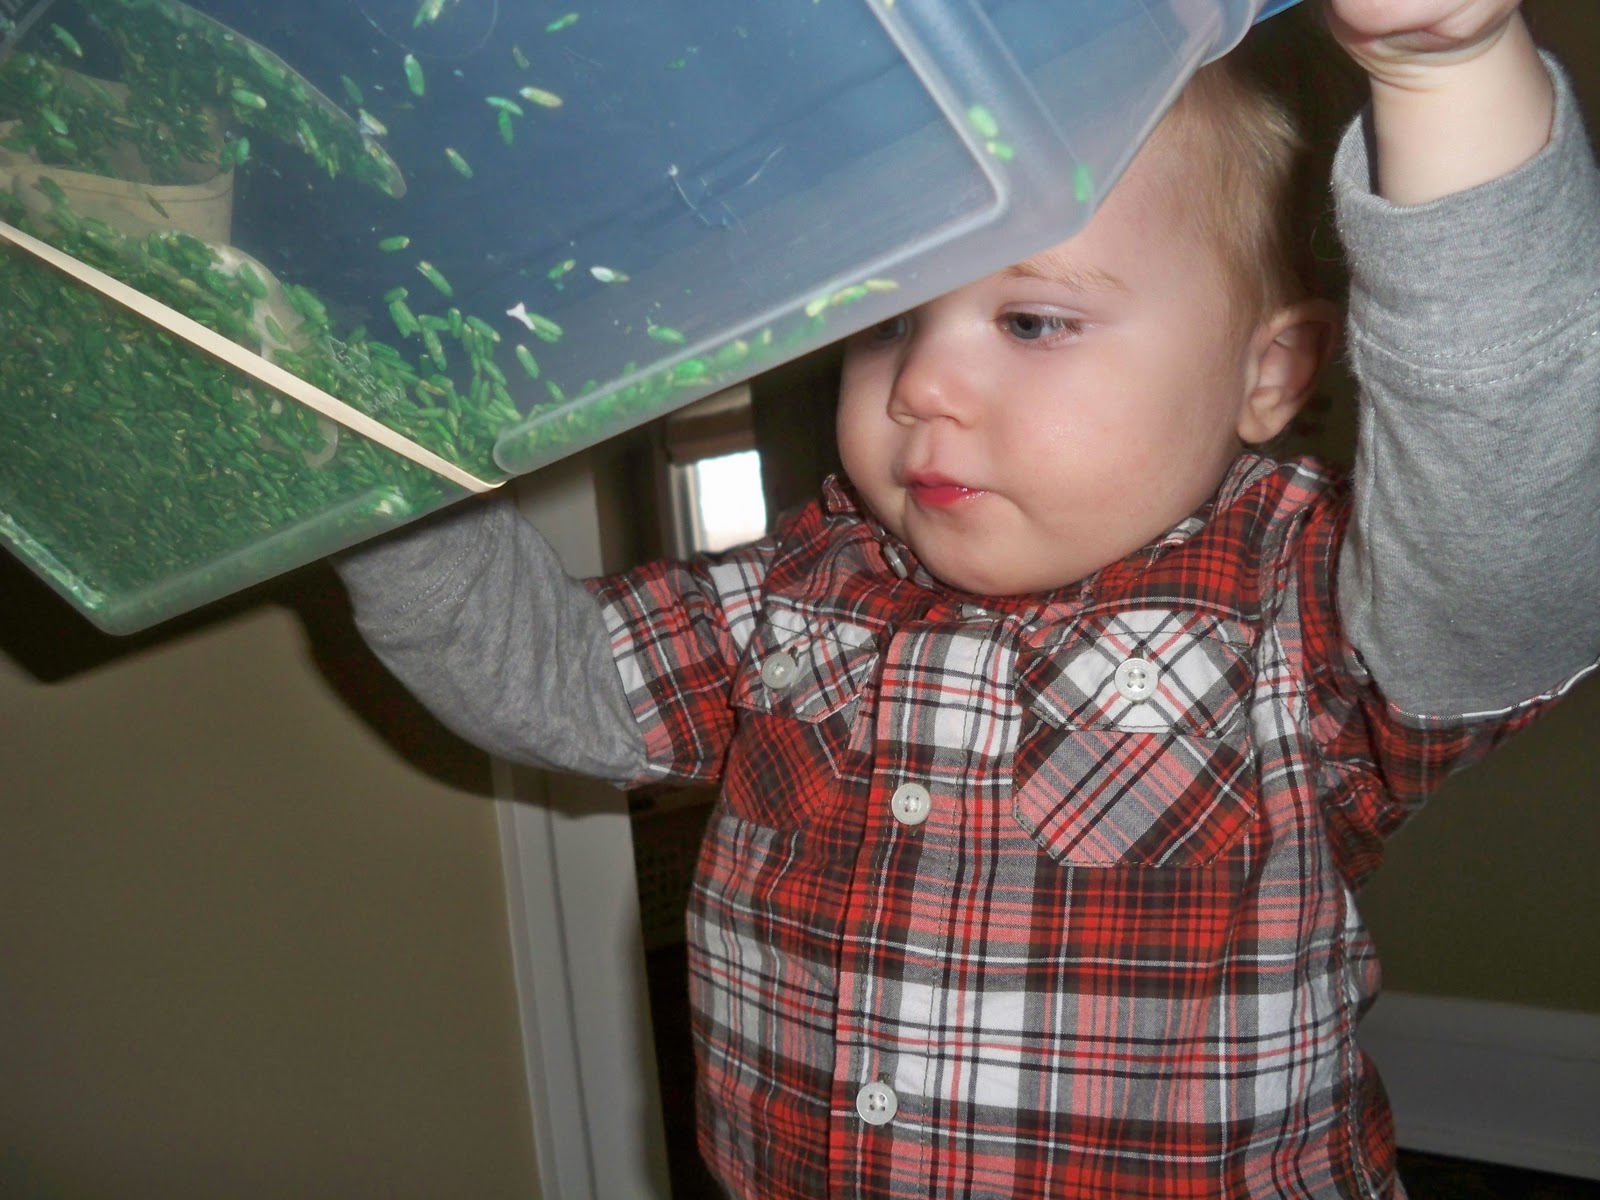
Put the cut out in the box (glue side up) and then dump the green rice on top. 

Put the lid on the box, add a rubber band to be safe, and let them shake the box. 


Open the box and shake off the extra rice.  Let it dry and there you have it, a Prickly Cactus.

Lindsay

Sunday, March 27, 2011

Don't waste your money!

Tonight for dinner, I thought I would try something different.  I purchased Philadelphia Cooking Cream because I had a high value coupon and because it looked pretty good on the commercial.  Do not be fooled!  In a word. it was GROSS.  Inedible would be another good way to describe it.  Here's what I did (following the package instructions).  I cooked 2 cups of pasta.  Then, I sauteed a red pepper and 2 cubed chicken breasts with a little Pam.  After the pasta was cooked, I drained it and transferred it to the saute pan.  Lastly, I scooped out the Italian Herb and Cheese Cooking Cream and mixed it in until everything was covered.  The three of us sat down to eat and after a few bites my husband and I decided to not eat any more and threw out the rest of what was in the pan.  Liam ate a few bites too, and then threw his fork at me!

I want to try to describe why it was so bad, but it's hard.  My husband said how can you blog about it if you can't describe it, so I will try.  The flavor was so strong and overpowering.  There was too much of the sauce, but it was still dry.  I did not add any salt to the meal and it was much too salty. 

There are alot of high value coupons out there for this product, but trust me, save your money!  Do not buy Philadelphia Cooking Cream.

Lindsay

Friday, March 25, 2011

The BEST Banana Bread EVER!

This is my mom's recipe and it's my favorite banana bread.  It's pretty basic and a great way to use those over-ripe bananas.

1 3/4 cup of All Purpose flour
2 tsp. baking powder
1/4 tsp. baking soda
1/2 tsp. salt
1/3 cup of margarine (I have used butter and it turns out the same)
2/3 cup sugar
2 eggs (beaten)
3-4 ripe bananas (smashed)
(You can add nuts, if you want to ruin it)

Preheat oven to 350 degrees.  Mix dry ingredients (flour, baking powder, baking soda & salt) in a bowl and set aside.  Mash bananas and then add the margarine, sugar and eggs.  Mix to combine.  Gradually, add the dry ingredients to the wet and mix thoroughly before the next addition.  Grease a standard sized loaf pan and pour in batter.  Bake at 350 degrees for 55-65 minutes (when a toothpick inserted, in the middle, comes out clean).  In my oven, it takes about 58 minutes.


It's really hard not to cut into it as soon as it come out of the oven and slather it with butter and jam it into my mouth, but I wouldn't do that. ;)

Lindsay